For introduction see first Part. This Part is about actually setting up an openFrameworks project with NetBeans.
A new Project
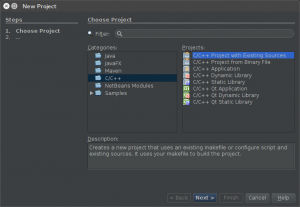
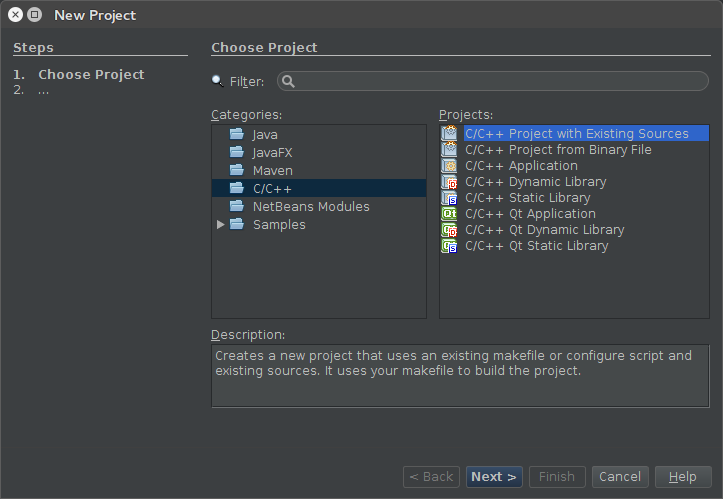
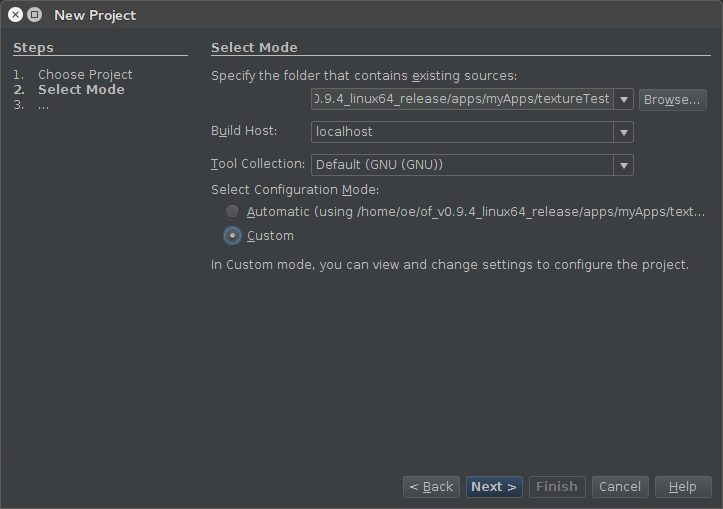
- Choose “New project” from “File” Menu. In the Popup window choose “C++ Project with Existing Sources”
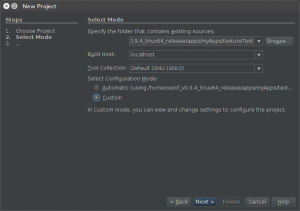
- Select the Folder of your openFrameworks App. Choose “Custom” as configuration mode.
Note: the actions/settings can differ slightly depending on the NetBeans version you are using. But you should get the idea.
- Note: the actions/settings can differ slightly depending on the NetBeans version you are using. But you should get the idea.
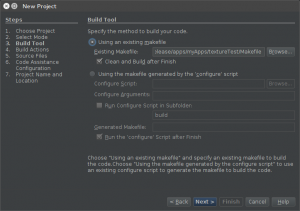
If asked for, Choose “Using an existing Makefile” and select the Makefile in the folder of your openFrameworks App. (About the field “Clean and build after finish”: It’s just about a build after finishing setting up the project. You could uncheck it, but I recommend you leave it checked. We’ll later see that a build at this moment is a good idea).
If NetBeans asks you for pre-build actions in this step: you don’t need any, all this is taken care of by the makefile.
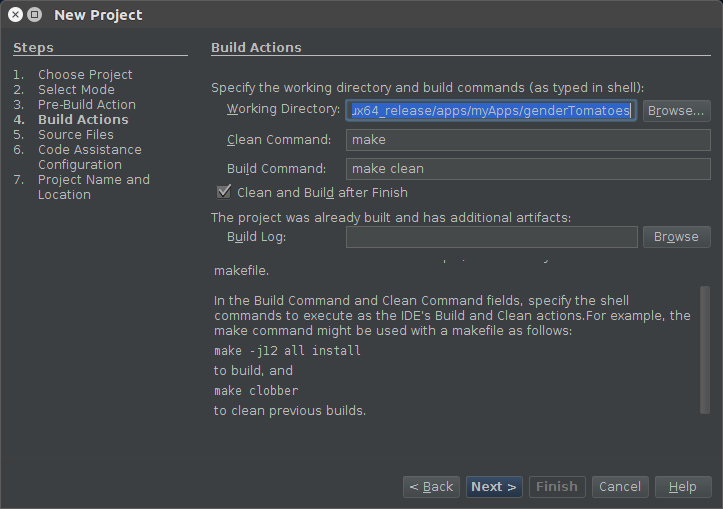
- Build actions: Here we just tell NetBeans to use the same commands we would type when using a shell to compile. That is “make” and “make clean”. (As I mentioned before, everything else has been prepare by the openFrameworks developers. So let’s bring NetBeans to use it.)

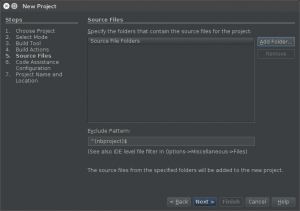
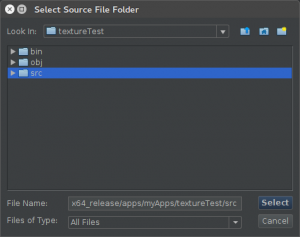
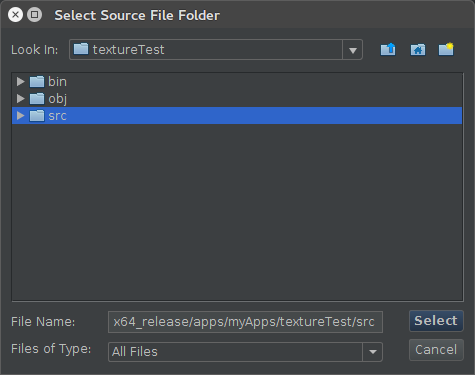
- Source files: Select your “src” folder (that lies in the folder of your openFrameworks App).
- Code Assistance Configuration: Select “Automatic Configuration”

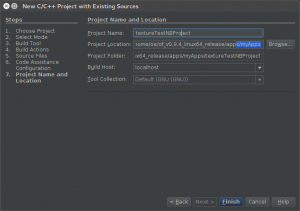
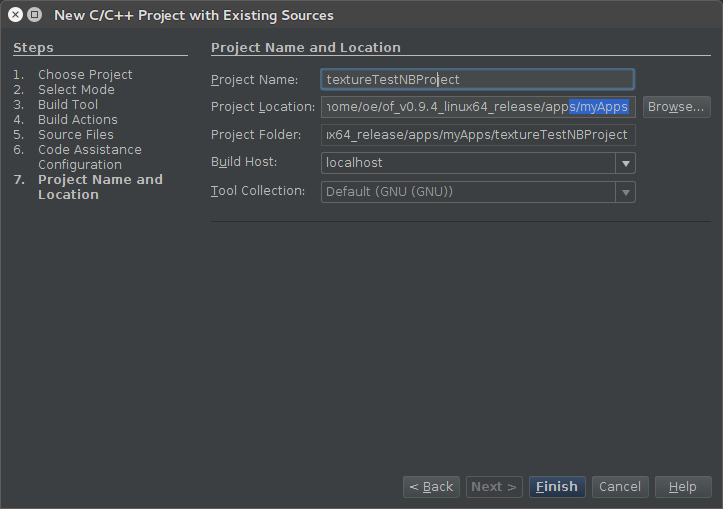
- Project name and Location: Select a place to store your NetBeans project. Please Note: do NOT store it inside the folder of your openFrameworks App. Otherwise “make” will try to compile some header files that are included in the NetBeans project folder and your build might fail. Just save it anywhere else and you will be happy.


The outcome
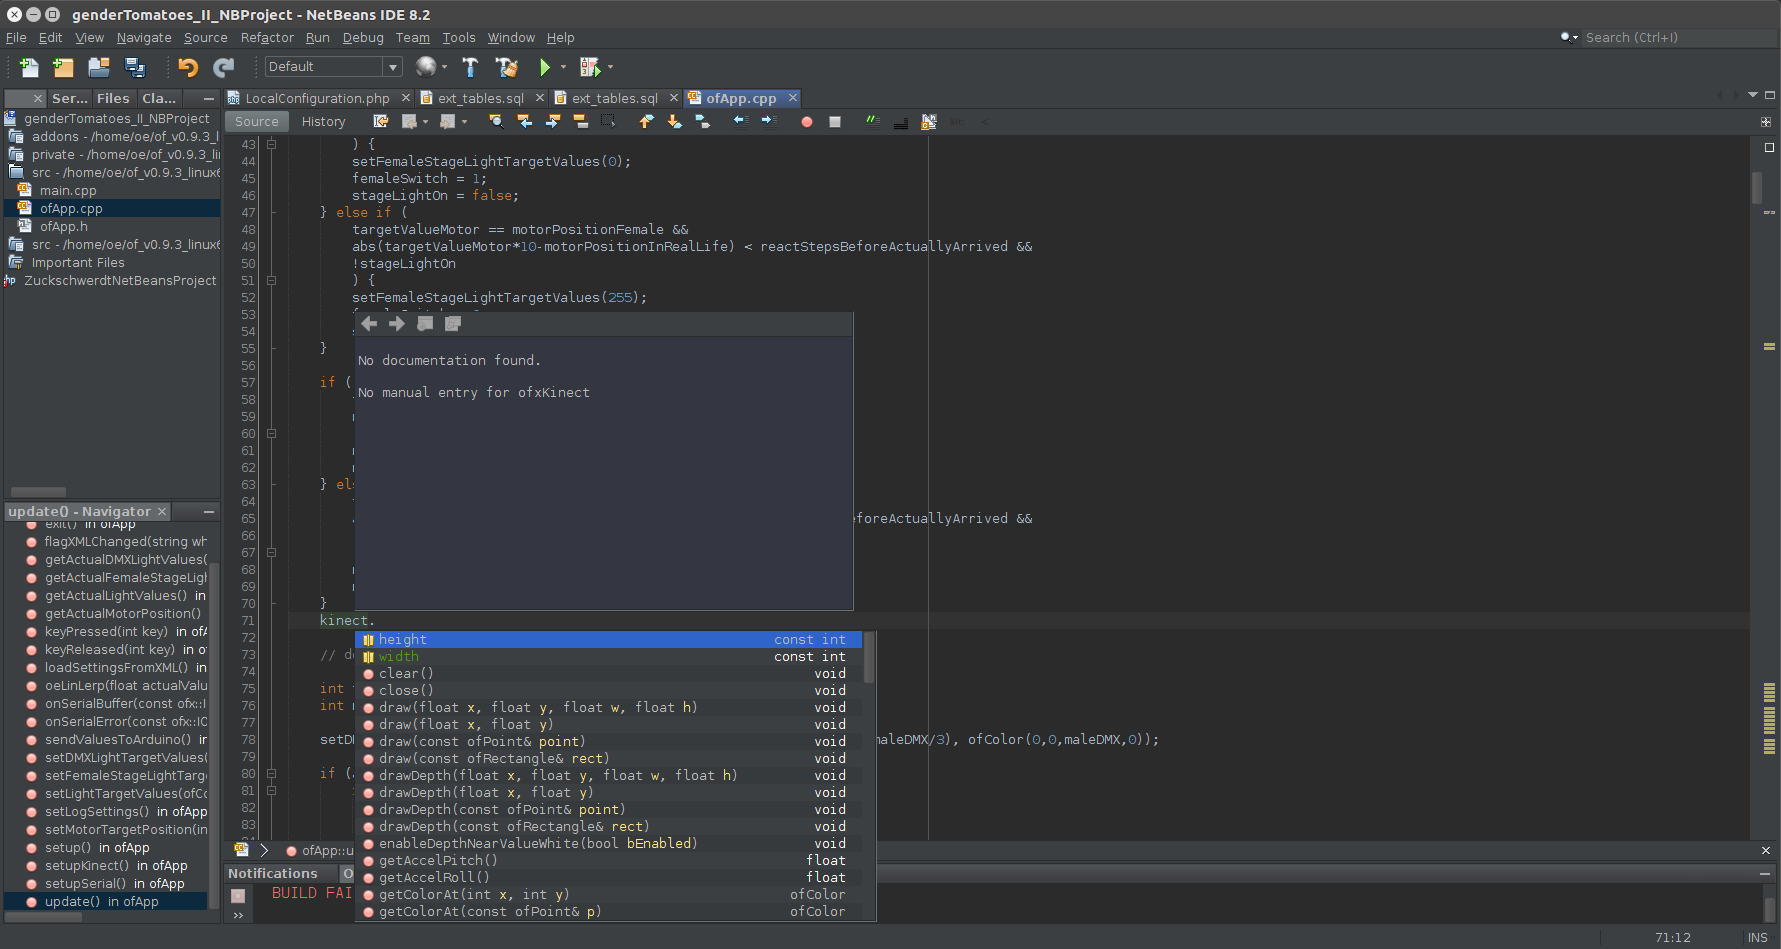
After the steps above, Netbeans will build the project automatically (remember that checkbox?). As we asked it, it uses the basic “make” approach, no Netbeans-specific settings. While doing so it anyway scans the dependencies and learns about the structure – not only of you project, but of all involved basic classes and mehods. So after the build you will have fully functional IDE-behaviour, including the most important thing: auto completion / suggestions:

Addons As mentioned before, the beauty of this approach is that you use the basic make process unaltered. This applies for adding an addon to your project, too: – Add the name of the addon to addons.make – Add the header to your ofApp.h After doing so, you will notice that there is no Auto completion for the methods of the addon. Also NetBeans is complaining about the missing header file – again the one of the addon:
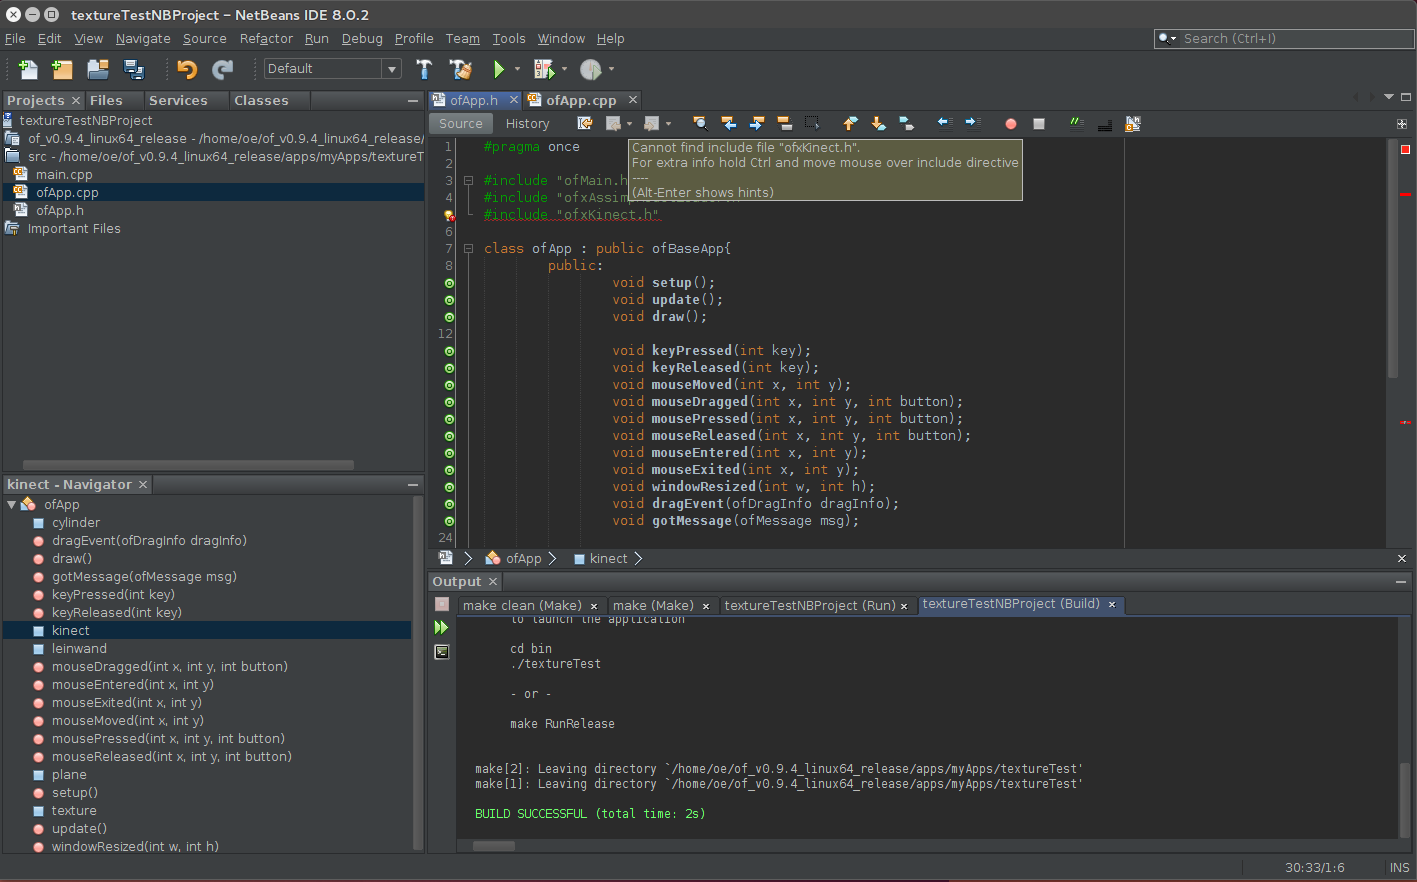
Remember that NetBeans scanned everything during the building process and so did not learn yet about the new addon. So just do a build again. As you included the header file, NetBeans will scan the according files and after the build you will have auto completion for the addon methods also: